
REVIEW · KYOTO CRAFT WORKSHOPS
Natural Indigo Dyeing with Local Masters (Private Atelier)
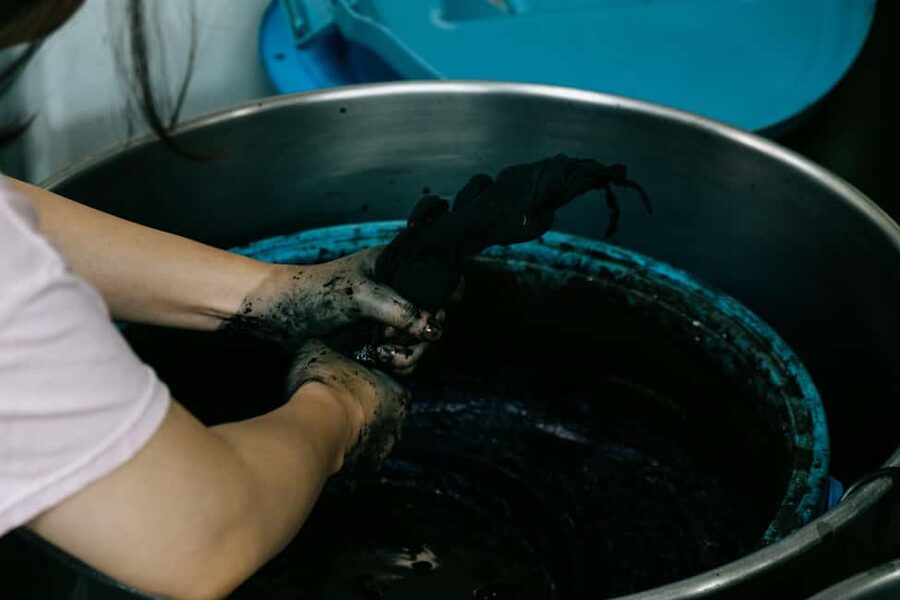
Kyoto’s most memorable craft experiences often happen away from the famous temples. Here, you enter a 300-year-old working indigo studio, where family artisans still use fermented sukumo vats. You fold, bind, and dye a cotton furoshiki, watching the cloth shift from green to blue in the air.
I like the honest setting and the patient instruction. This is a real dye house, not a polished replica built for visitors, and the small maximum of six keeps the session personal. I also like the quiet finish with indigo leaf tea and a traditional furoshiki wrapping demonstration. The main consideration is the location: it takes about 30 minutes from Kyoto Station by train and on foot, and the wooden studio is not wheelchair accessible.
In This Review
- Key points at a glance
- Why this Kyoto craft visit feels different
- The first 15 minutes: tools, vats, and the story of aizome
- The 60-minute workshop: fold, bind, and dip
- Why fermented sukumo changes the experience
- Tea, wrapping, and a slower finish
- What the $95 price really covers
- Getting there and preparing well
- Who will enjoy this most
- Is this natural indigo workshop worth booking?
- FAQ
- Where does the indigo dyeing workshop take place?
- How long does the experience last?
- How much does it cost?
- What item is included in the workshop?
- Can I dye a scarf instead?
- Is the dye natural?
- Is English support available?
- What should I wear?
- Is the studio wheelchair accessible?
Key points at a glance
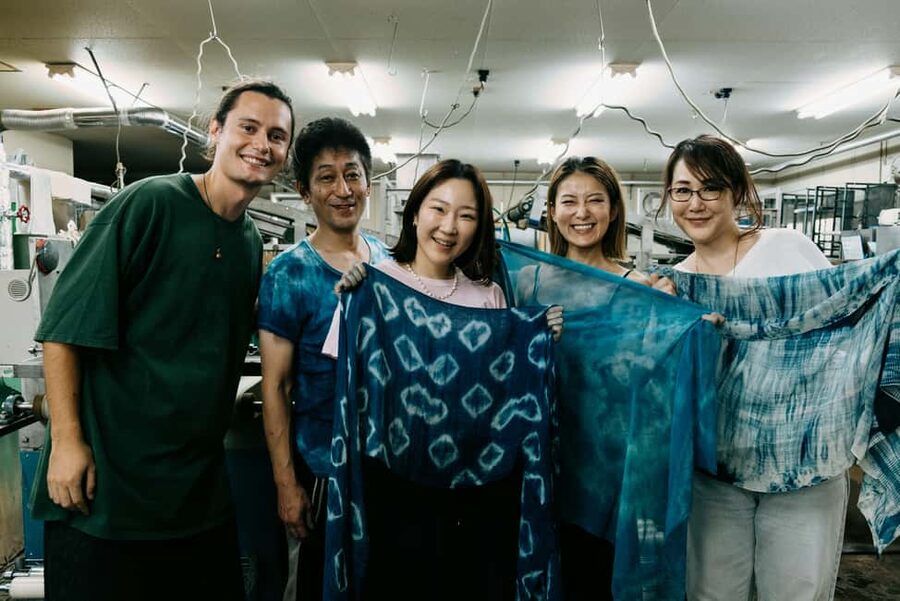
- A 300-year-old working studio: You see the actual tools, large dye vats, gallery, and workspaces used by a multigenerational indigo family.
- Natural fermented indigo: The studio uses sukumo, not chemical dye, so you can watch the traditional oxidation process create deep blue tones.
- A small cotton furoshiki included: Your basic activity includes one cloth measuring about 45 to 50 centimeters.
- Bilingual help from the local team: English support is provided, and Sakura has been especially helpful with translating artisan instructions.
- A calm two-hour format: The visit includes a studio introduction, about an hour of hands-on work, tea, and time for photos.
- Optional scarf upgrades: Cotton, silk, and wool options are available for an extra fee if you want something larger or more wearable.
Why this Kyoto craft visit feels different
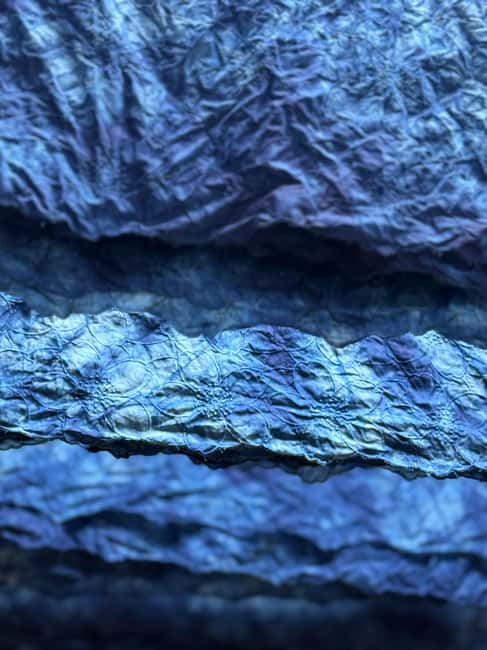
Many Japanese craft classes are designed for quick results. This one gives you a short look at the work behind the finished cloth. The indigo vats are not props. They are part of a working studio that produces and displays carefully dyed textiles, including kimono fabrics.
That distinction matters. You are not simply coloring a souvenir. You are learning why natural indigo takes patience, skill, and close attention. The artisans explain the process from indigo plants and fermented sukumo to the finished cloth. You also see older tools and hear how the family’s work has continued across generations.
The studio is in western Kyoto, away from the central temple circuit. The exact address is given after booking, which helps protect the private setting. You should plan your route carefully and allow enough time for the train and walk. This is not a class you squeeze between a morning at Fushimi Inari and an evening reservation in Gion.
The atmosphere is part of the value. You work in a traditional space with wooden floorboards, rather than in a bright modern classroom. It may feel less convenient, but it gives the session a stronger sense of place.
More Kyoto craft workshops:
- Authentic knife making experience at a blacksmith in Kyoto
★ 4.8 · 350 reviews - Roketsu dyeing experience: M course Roketsu Dyeing Experience
★ 5.0 · 163 reviews - Kyoto: Replica food making experience
★ 4.8 · 70 reviews
The first 15 minutes: tools, vats, and the story of aizome
The opening section sets the craft in context. A bilingual cultural host introduces the history and everyday role of aizome, the Japanese art of natural indigo dyeing. You learn why indigo has mattered in clothing and household textiles, then look around the studio before touching the cloth.
Expect to see dye vats, historic tools, work surfaces, and examples of finished pieces. The large vats are a real highlight. They help you understand the scale of the studio’s work, especially when you compare them with the small cloth you will dye yourself.
The explanations are delivered in Japanese and English. The artisans lead the practical parts, while the cultural host helps bridge the language gap. Sakura has handled translation during sessions, and her clear explanations are useful when the master artisan is describing a process with many small steps.
This first section is not long, but it prevents the class from becoming a simple color-and-take-home activity. You get a reason for the technique before you try it.
The 60-minute workshop: fold, bind, and dip
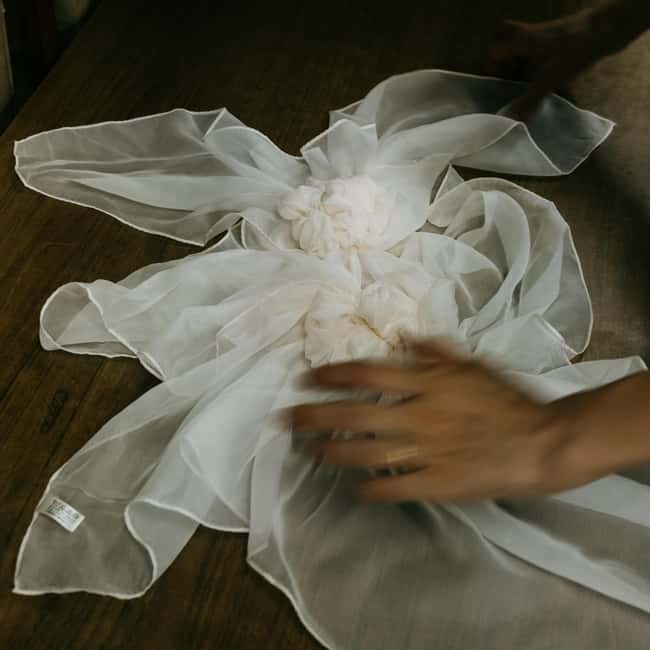
The hands-on portion begins with your textile choice. The standard workshop includes one cotton furoshiki, about 45 to 50 centimeters across. You can also select a large handkerchief with cherry blossom embroidery or a traditional tenugui when those options are offered as part of the basic choice.
If you want something larger or more wearable, you can upgrade on the day. The choices include a lightweight cotton scarf, a silk scarf, or a wool stole made from Mongolian wool. These upgrades cost extra, so ask about the price before you begin. The cotton furoshiki is the sensible choice if you want the included option and a classic Japanese wrapping cloth.
The design begins with folding and binding. This is the shibori part of the process, where the way you fold, pinch, or secure the fabric affects the final pattern. The artisans guide you step by step. You do not need previous craft experience, but you do need to listen closely and accept that natural dye has its own limits.
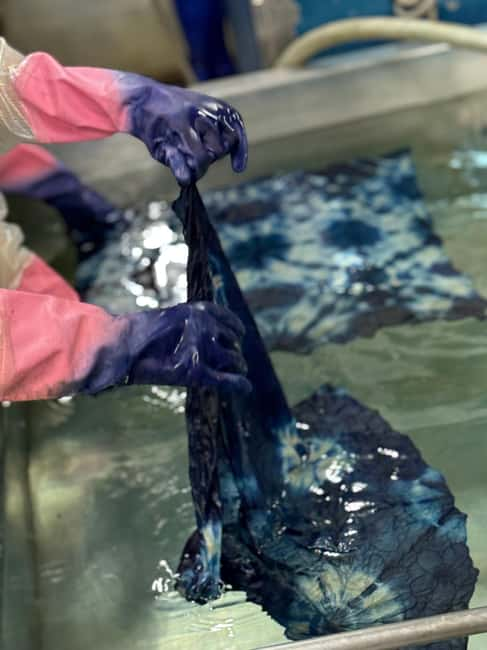
Then comes the memorable part: the cloth goes into the fermented indigo vat. At first, the fabric can appear greenish. As it meets the air, oxidation changes the color toward blue. Watching that shift happen in front of you gives the process a small bit of magic, though the science and the artisan’s control are what make it work.
You will wear an apron, gloves, and shoe covers, which is helpful because indigo can mark clothing and shoes. Still, follow the advice to wear casual clothes that can get dirty. There is no clothing change room, and you should not arrive in anything you would hate to stain.
The staff are there to help you produce a good result, not simply to point at the vat and step away. That is important for younger participants and for anyone who has never worked with fabric before. The minimum age is eight, and the activity suits children who can focus through a hands-on process lasting about an hour.
Why fermented sukumo changes the experience
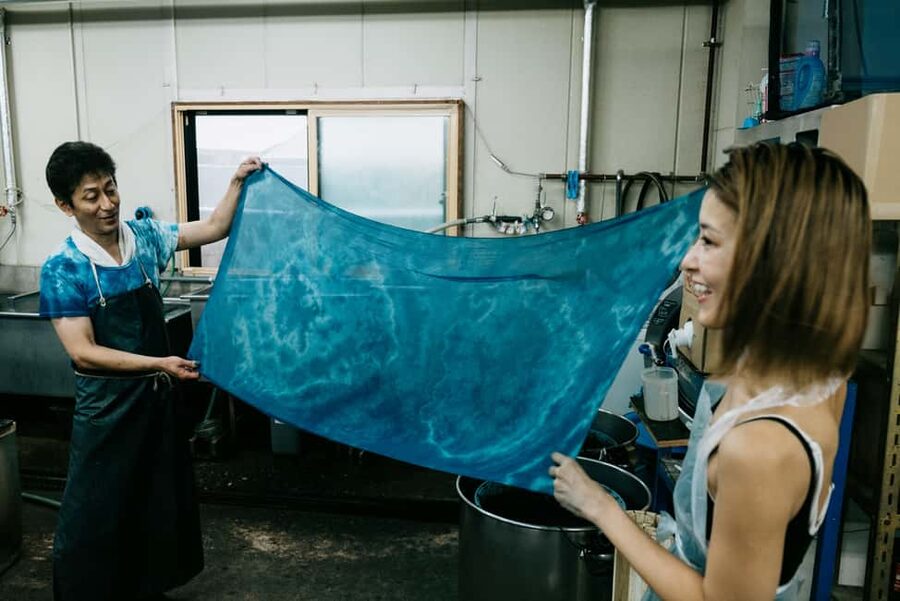
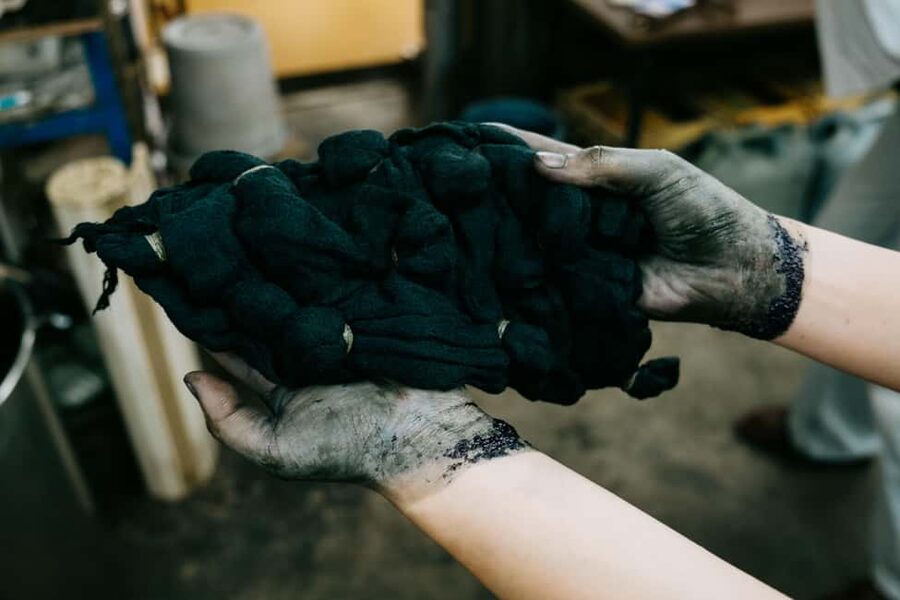
The studio uses natural fermented indigo known as sukumo. This is not the same as using a ready-made chemical dye in a craft shop. Fermentation prepares the indigo so artisans can maintain a usable vat, and the color depends on careful handling.
You do not need technical training to appreciate the difference. The process explains why the finished blue may have variation and character rather than looking like a perfectly uniform factory color. The staff also discuss how difficult it is to produce consistent, deep indigo tones, particularly when working with natural materials.
For me, this is where the workshop earns its price. You are not only taking home cloth. You are getting a brief look at a demanding craft that requires the artisans to care for the vat before your visit and continue managing it after you leave.
The result is also personal. Your folds and bindings shape the pattern, so two pieces will not look exactly alike. Do not expect a museum-quality textile after one short class. Expect a handmade piece with a connection to the technique you just learned.
A few more Kyoto experiences worth comparing
- Fushimi Inari Hidden Hiking Tour (Private Option Available)
★ 5.0 · 1,750 reviews - Private Kyoto Tour with a Local, Highlights & Hidden Gems, Personalised
★ 5.0 · 1,543 reviews - Kyoto 6hr Private Tour with Government-Licensed Guide
★ 5.0 · 1,369 reviews - 10 Must-see Spots in Kyoto One Day Private Tour (up to 7 people)
★ 5.0 · 1,108 reviews
Tea, wrapping, and a slower finish
After the dyeing, you have time to let the experience settle. Indigo leaf tea is served while the host answers questions and shares more cultural background. It is a modest inclusion, but it suits the pace of the visit. You have just spent an hour concentrating on folds, ties, and vat work, so a quiet pause feels welcome.
A traditional furoshiki wrapping demonstration adds a useful final touch. You see how the cloth can be folded for carrying and wrapping, rather than treating it as a decorative square that sits in your luggage. If you chose the standard furoshiki, you leave with both the item and a practical way to use it.
There is also time for photos with your finished creation. The studio and gallery contain dyed pieces and handmade work, so you may want to bring a little extra money if you are interested in buying something beyond the included activity.
That shopping opportunity is optional. I would not book this experience mainly to buy textiles, since the central value is the workshop itself. But the display can help you understand what the artisans produce at a professional level. A hand-stitched and dyed furoshiki, scarf, or kimono textile will cost more than your included cloth, for good reason.
What the $95 price really covers
At $95 per person, this is not the cheapest craft class in Kyoto. The price makes more sense when you look at what is included: access to a private historic studio, the natural fermented vats, artisan instruction, all tools and materials, an included cotton furoshiki, English-language cultural support, indigo leaf tea, an apron, a small souvenir, and time for photos.
The group limit of six is another part of the value. A large class could make a traditional craft feel like a production line. With six or fewer people, the artisans and host have a better chance to watch your technique and help when your folds or bindings need adjustment.
The price is less attractive if you want to dye a large garment or several pieces. Only one furoshiki is included, and larger fabric or extra cloth is not part of the basic fee. Upgrades are available, but they raise the total.
I see this as a good purchase for someone who values access and instruction more than quantity. You are paying for the setting, the working vat, the family connection, and the chance to learn directly from people who still practice the craft. If your main goal is an inexpensive souvenir, a shop-bought tenugui will cost less.
Getting there and preparing well
The studio is in western Kyoto, approximately 30 minutes from Kyoto Station by train and on foot. Since the exact address arrives after booking, do not wait until the last minute to plan your route. Start with extra time, especially if you are unfamiliar with Kyoto’s train stations and residential streets.
Wear comfortable shoes. The visit involves a train ride, a walk, and time on wooden floorboards. Choose relaxed clothing that can get dirty, even though protective gear is provided. There is an on-site restroom, but no clothing change room.
Wheelchair users should note that the studio is not wheelchair accessible. The traditional floor layout may also be less comfortable for anyone who has trouble standing or working at a low surface, so ask the provider about the setup before reserving if that affects you.
The activity lasts about two hours, though the stated duration can range from 1.5 to 2 hours. Starting times vary, so check availability when booking. English and Japanese are supported, but there is no broader multilingual service.
Cancellation is flexible up to 24 hours before the activity for a full refund. You can also reserve and pay later, which is useful if your Kyoto schedule is still moving around.
Who will enjoy this most
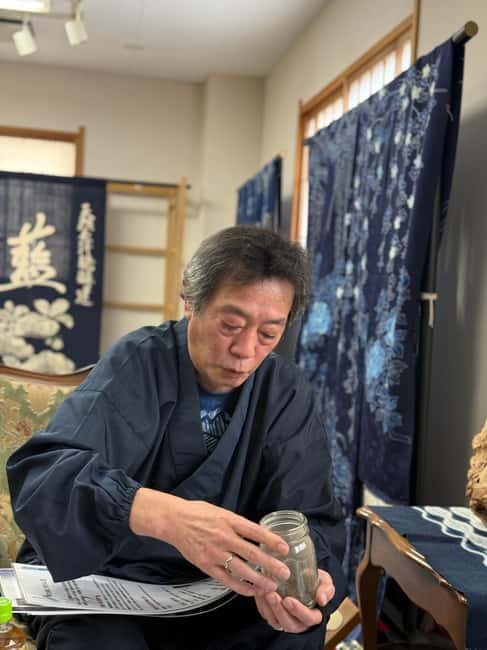
I would recommend this to anyone who wants a craft class with cultural context rather than a quick souvenir-making stop. It is especially good for people interested in fabric, natural materials, Japanese design, or the work behind traditional clothing.
Families can also make good use of the session. The minimum age is eight, and the process gives children something real to do with their hands. Adults will appreciate the studio tour and the discussion of fermentation, tools, and textile production, while children may focus on the color change and the satisfaction of opening the folded cloth.
It also works well for repeat visitors to Kyoto. If you have already seen the major temples, this gives you a different view of the city through an old local industry. The quiet western location and small group feel far removed from the busiest sightseeing routes.
I would be more cautious about booking it if your schedule is very tight, if you need full wheelchair access, or if you want to dye a full-size garment. The included furoshiki is a manageable project, but the class is not a custom clothing workshop.
Is this natural indigo workshop worth booking?
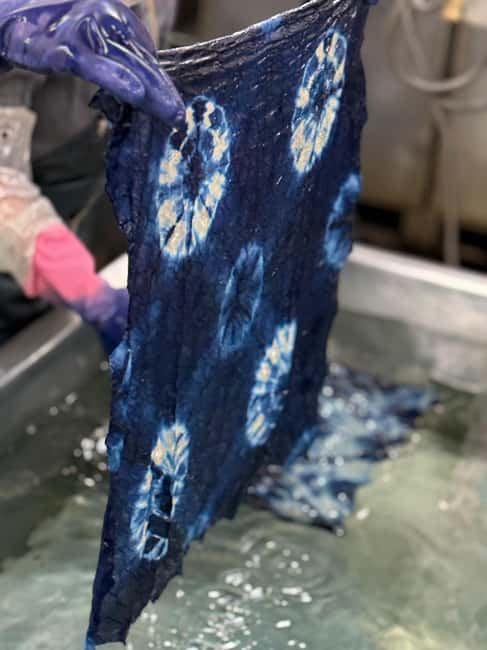
Book it if you want a genuine look at Japanese craft and are happy to pay for close instruction, a private setting, and one carefully made textile. The most valuable parts are the working vats, the artisans’ guidance, and the explanation of how fermented indigo becomes usable dye.
Skip it if you only want the cheapest possible activity or a large amount of fabric. For everyone else, this is a thoughtful two-hour addition to a Kyoto itinerary, especially when you have room for a slower afternoon and want to bring home something you made yourself.
FAQ
Where does the indigo dyeing workshop take place?
It takes place in a historic indigo studio in western Kyoto. The exact address is provided after booking.
How long does the experience last?
The activity lasts about 1.5 to 2 hours, with two hours given as the usual duration.
How much does it cost?
The listed price is $95 per person.
What item is included in the workshop?
One cotton furoshiki cloth measuring approximately 45 to 50 centimeters is included. A large handkerchief with cherry blossom embroidery or a traditional tenugui may also be available as a basic item choice.
Can I dye a scarf instead?
Yes. Cotton and silk scarves, along with a wool stole, may be available as upgrades on the day. Additional fees apply.
Is the dye natural?
Yes. The studio uses natural fermented indigo called sukumo.
Is English support available?
Yes. The activity is offered in Japanese and English, with a bilingual cultural host providing interpretation and support.
What should I wear?
Wear comfortable clothes and shoes, and choose clothing that can get dirty. An apron, gloves, and shoe covers are provided, but there is no clothing change room.
Is the studio wheelchair accessible?
No. The studio is not wheelchair accessible and has traditional wooden floorboards.
Recently added around Kyoto
- Higashiyama | Kyoto: Sakura Season Private Rickshaw Tour★ 5.0 · 3 reviews
- Kyoto Kimono Rental CHAMATSU|Kimono/Yukata Rental FamilyPlan★ 5.0 · 3 reviews
- Kyoto: Half-Day Private Guided Tour to the Old Town of Gion★ 4.4 · 3 reviews
- Nara Private Customizable Half Day Tour★ 5.0 · 3 reviews
- Kansai Region Hiking Adventure in Nara Kobe Kyoto and More★ 5.0 · 3 reviews
- Full Day Nara Deer, Temple, Shrine, Activities & Tea Ceremony★ 5.0 · 3 reviews
- Nara: Essential Private Tour with Deer Park and Temples★ 5.0 · 3 reviews
- Hiking Tour for Sacred Sites in Kyoto with a Guide★ 5.0 · 3 reviews
Kyoto Craft Workshops, compared.
Authentic knife making experience at a blacksmith in Kyoto
Read our review →
Roketsu dyeing experience: M course Roketsu Dyeing Experience
Read our review →
Authentic Knife Making Experience at a Blacksmith in Kyoto
Read our review →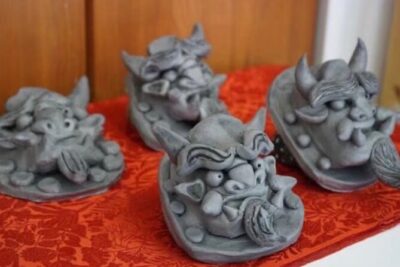
Let’s make only one original onigawara in the world
Read our review →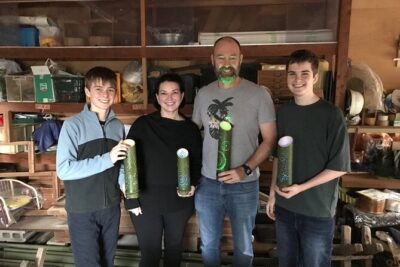
Bamboo LED Lantern Making Experience in Kyoto Arashiyama
Read our review →Let’s make only one original onigawara in the world!!
Read our review →Browse the lists this tour appears in