
REVIEW · PHOTOGRAPHY SESSIONS
Kyoto Photography Masterclass – Private Photography Lesson
Kyoto is already photogenic, but this private lesson helps you see it with a camera in hand. You’ll work through old wooden streets, lantern-lit alleys, temple approaches, and carefully chosen viewpoints while a professional photographer helps with settings, composition, and light.
I like the one-to-one pace, which lets the guide adjust the lesson to your skill level. I also like the practical approach: Irven, one of the guides, brought a tripod for a night session and reviewed images step by step, helping the photographer reset and improve each shot.
The main drawback is the price: $170 per person for about three hours is a serious spend, especially if you already feel confident with your camera. The tour also does not include a camera, and the full stop list may feel ambitious if you want long, quiet sessions at every location.
In This Review
- Key points for your Kyoto photo lesson
- Why a private Kyoto photography lesson can be worth it
- Choose Kyoto streets or Kyoto after dark
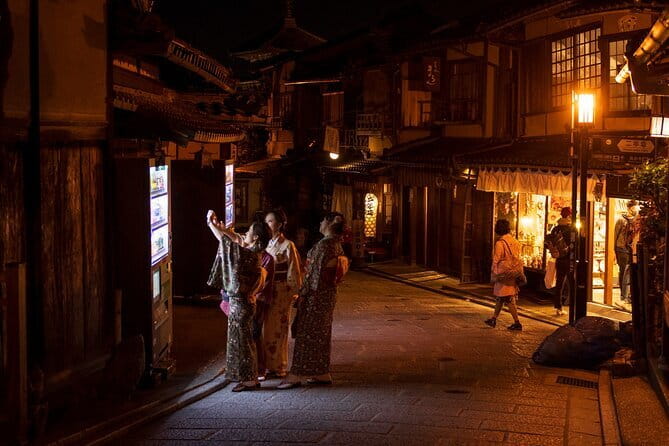
- Gion: wooden streets and careful framing
- Pontocho District: lantern light and narrow views
- Gion Corner and Minamiza Theater: details of Kyoto performance culture
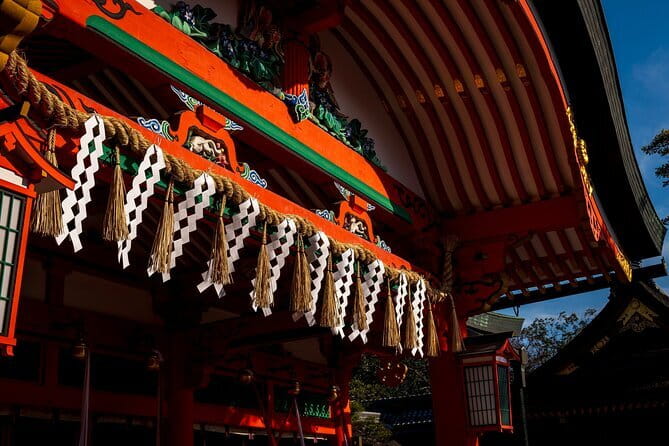
- Yasaka Shrine: color, structure, and changing light
- Hokan-ji Temple and the famous Yasaka Pagoda view
- Ninenzaka: steps, textures, and street composition
- Kiyomizudera Temple: the final major subject
- What the instruction is really like
- Price, timing, and who gets the best value
- Should you book the Kyoto Photography Masterclass?
- FAQ
- How long is the Kyoto Photography Masterclass?
- Where does the activity start?
- Where does the tour finish?
- Is this a private tour?
- Is a camera included?
- Can I cancel for a full refund?
Key points for your Kyoto photo lesson
- Private instruction: Only your group takes part, so the guide can match the lesson to your camera experience and interests.
- Two photographic moods: Choose Kyoto by day for streets and architecture, or focus on night photography with lanterns, long exposures, and low light.
- Strong evening route: Gion, Pontocho, Yasaka Shrine, Hokan-ji Temple, Ninenzaka, and Kiyomizudera offer varied subjects within one compact part of the city.
- Hands-on camera advice: Expect help with camera settings, composition, angles, and lighting rather than a simple walking tour.
- Tripod support on request: A tripod may be available, and it was used successfully during a night lesson with Irven.
- Good flexibility for small groups: Group discounts are available, and the private format avoids waiting for a large class.
Why a private Kyoto photography lesson can be worth it
A normal sightseeing walk shows you where to go. This lesson is built around how to photograph what you find there. That difference matters in Kyoto, where a narrow lane, a paper lantern, or a temple roof can look ordinary in a quick snapshot but much stronger with better framing and light.
You receive direct help with camera settings, composition, and technique. If you are new to manual controls, you can ask basic questions without slowing down a group. If you already know your camera, you can spend more time on visual choices, night work, or finding a better angle.
I especially like the chance to review images during the session. The night lesson with Irven included looking at shots, changing settings, and trying again. That is useful instruction because you see the result immediately instead of taking notes and hoping the advice works later.
The private format also gives you control over the pace. You can ask for more time at a favorite spot, request help with a particular camera problem, or focus on street scenes instead of trying to cover every stop quickly. The tradeoff is that private tuition costs more than a standard group walk. At $170 per person, the value depends on how much you want to improve, not simply how many sights you can tick off.
More photo sessions in Kyoto:
- Kyoto: Maiko Makeover and Photoshoot Experience
★ 4.7 · 239 reviews - Kyoto: Private Photoshoot Service
★ 5.0 · 158 reviews - Your Private Vacation Photography Session In Kyoto
★ 5.0 · 110 reviews
Choose Kyoto streets or Kyoto after dark
The experience is described in two forms. A street-focused session takes you through older parts of Kyoto, with attention to wooden houses, patterns, textures, architecture, and the meeting of traditional and modern life. Gion and the Philosopher’s Path are especially suited to this approach.
A night session works on a different set of problems. Lanterns and temple lighting create atmosphere, but low light makes camera shake, focus, and exposure harder to manage. You may work on long exposure and use a tripod if one has been requested.
The night route listed for this activity moves through Gion, Pontocho, Gion Corner, Minamiza Theater, Yasaka Shrine, Hokan-ji Temple, Ninenzaka, and Kiyomizudera Temple. Since the tour lasts about three hours, you should expect a guided circuit rather than unlimited time at each place.
Ask yourself what you want from the lesson before booking. Daytime is likely the better match for architectural detail, street textures, and general composition. Night is better if you want to learn low-light technique and capture Kyoto’s lantern-lit mood.
Gion: wooden streets and careful framing
Gion is a natural starting point for a Kyoto photography lesson. Its traditional wooden machiya houses give you strong lines, repeated textures, and a clear sense of place. The narrow streets also encourage you to think about framing rather than simply pointing at a famous building.
Your guide can help you look at how doors, walls, signs, shadows, and passing activity fit together. This is the kind of setting where small changes in position can make a photograph feel calmer and more ordered.
Gion can also be visually busy, particularly around well-known streets. A private guide is useful here because you can spend less time wondering where to stand and more time making decisions with your camera. Still, do not expect every frame to be quiet or empty. The appeal is the contrast between old buildings and present-day city life.
Pontocho District: lantern light and narrow views
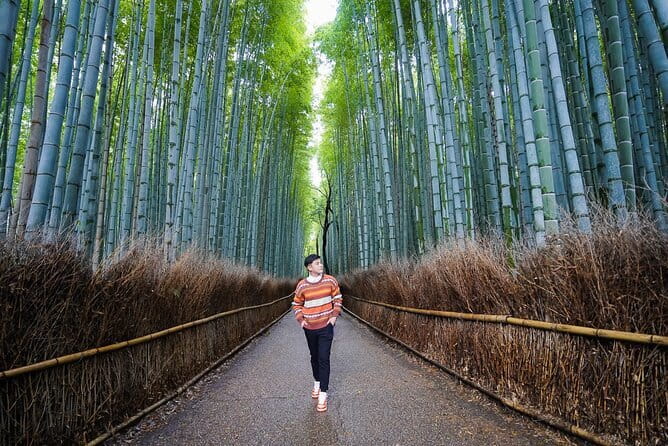
Pontocho is a compact district known for its narrow alley and traditional dining buildings. At night, its lanterns create a clear photography lesson in exposure and mood.
This is a place to pay attention to highlights and shadows. Lanterns can easily become too bright while darker parts of the alley lose detail. A guide can help you adjust settings and try different exposures instead of accepting the first image.
The alley is not a broad viewpoint, so your compositions may depend on lines, repeating lights, and the feeling of the passage itself. That limitation is useful. It pushes you to work with what is in front of you rather than waiting for a grand panorama.
More workshops and classes in Kyoto:
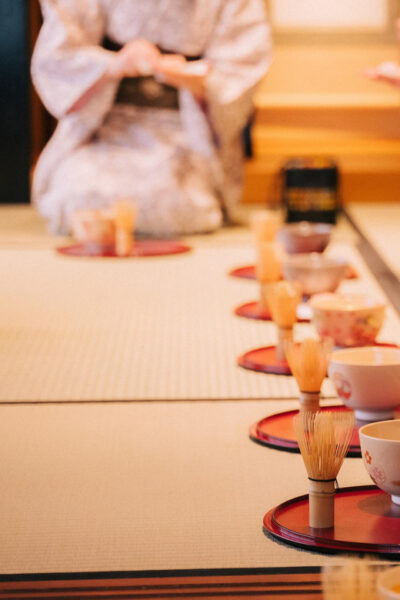
- Kyoto: 45-Minute Tea Ceremony Lesson Experience
★ 4.3 · 2,378 reviews - Kyoto : Chopsticks Making Workshop in Gion with Engraving Option
★ 5.0 · 958 reviews - Kyoto: Samurai Sword Class by Experts in Traditional Arts
★ 4.9 · 657 reviews - Kyoto: Ramen Cooking Class at a Ramen Factory with Souvenir
★ 4.9 · 532 reviews
Gion Corner and Minamiza Theater: details of Kyoto performance culture
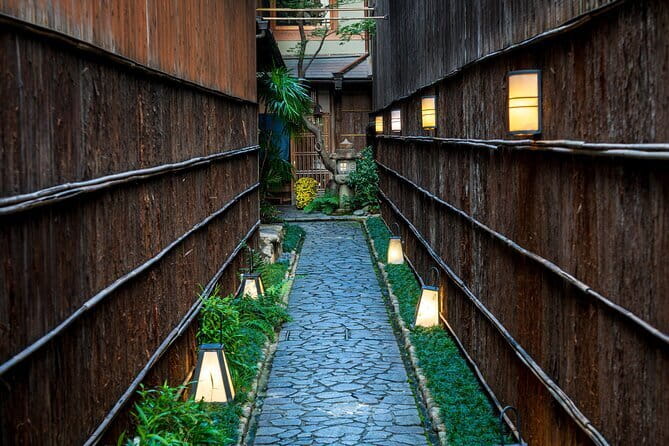
Gion Corner and the Minamiza Theater add a different subject to the walk. Instead of focusing only on temples and old streets, you can photograph the signs, facades, entrances, and visual clues connected with Kyoto’s performing arts.
These stops are valuable for a lesson on storytelling. A photograph does not need to show an entire building to explain where you are. A close view of a sign, a doorway, or a theatrical architectural detail can say plenty when the frame is clean.
The available information does not promise entry to either venue, so treat them as exterior photography stops unless your guide tells you otherwise. That is an important expectation to set. You are booking a photography walk, not a theater performance or a ticketed attraction visit.
Yasaka Shrine: color, structure, and changing light
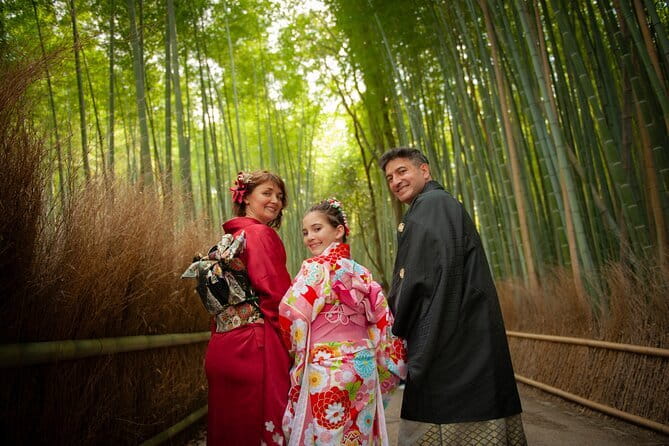
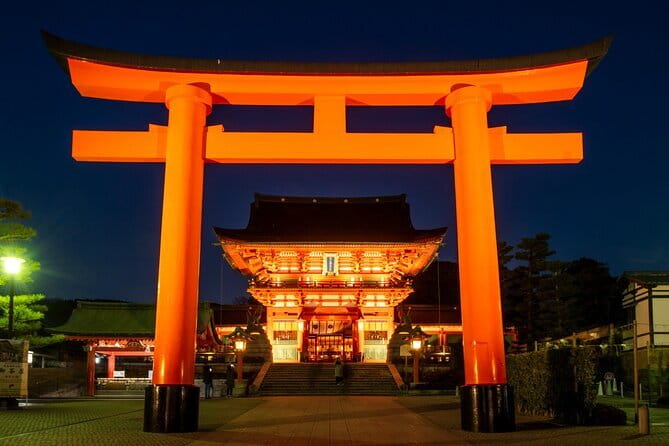
Yasaka Shrine brings religious architecture and strong visual structure into the route. Shrines give you a chance to practice balance, symmetry, and the relationship between built forms and open space.
In daylight, you might work on color and detail. In the evening, lights and shadows create a more subdued subject. The guide’s role is not simply to point out the shrine, but to help you decide which part deserves the frame and how your settings support that choice.
Because the stop list contains several locations, your time here may be limited. If shrine photography is your main goal, tell the guide early. A private tour gives you a better chance to shape the lesson around that interest.
Hokan-ji Temple and the famous Yasaka Pagoda view
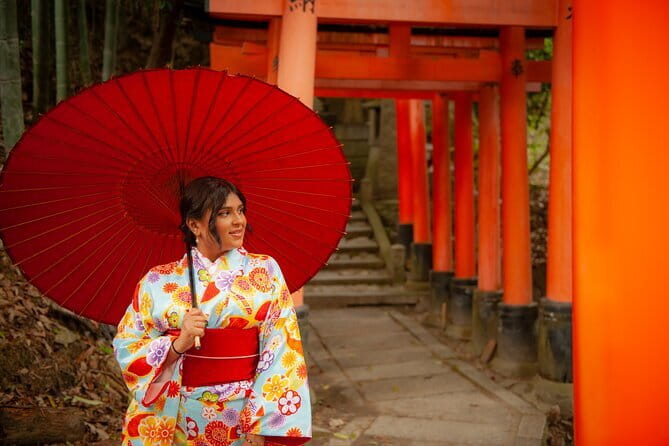
Hokan-ji Temple, often associated with its pagoda, offers one of Kyoto’s most recognizable architectural subjects. The surrounding streets of Higashiyama help place the temple in context, with traditional buildings and sloping approaches adding depth to the scene.
The risk with a famous view is taking the same picture everyone else takes. Your guide can help you look for a different angle, use surrounding buildings as a frame, or pay attention to vertical lines and perspective.
This is also a practical place to remember that a strong image may require restraint. More of the pagoda is not always better. A tighter crop or a composition that includes a small section of street can make the photograph feel more connected to Kyoto.
Ninenzaka: steps, textures, and street composition
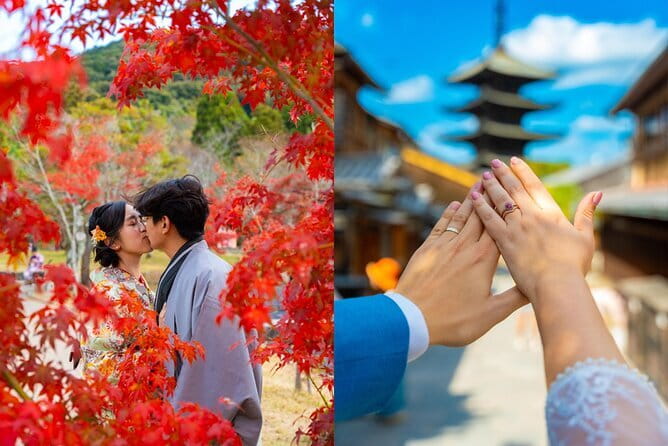
Koju Ninenzaka, listed as a stop on the route, refers to the Ninenzaka area, known for its sloping traditional street and stone steps. It is well suited to lessons in leading lines, layers, and visual rhythm.
The steps can guide the eye through the frame. Wooden facades, shop fronts, and rooflines add repeated shapes. You might also work on timing, waiting for the right arrangement of people and movement without treating the street like a studio set.
This area can be busy, and the incline may make slow tripod work less convenient. Comfortable shoes are a sensible choice, though the activity information says most people can participate. If you want a precise, carefully staged image, the guide may need to balance that goal with the pace of the route.
Kiyomizudera Temple: the final major subject
Kiyomizudera Temple provides a strong finish, with broad architectural forms and a setting suited to views across Kyoto. In the night version, the temple is lit against the dark sky, giving you a chance to work with contrast and long exposure.
The temple is more than a final postcard stop. It lets you combine several skills from the lesson: choosing a viewpoint, handling bright lights, keeping architecture straight, and deciding how much surrounding scenery belongs in the frame.
The experience ends back at the meeting point, so Kiyomizudera is not a separate drop-off destination. Plan your evening with that in mind. You will finish where you began at the Statue of Izumo-no-Okuni near Kawabatacho.
What the instruction is really like
The strongest part of this activity is its practical teaching. You are not just hearing general advice about photography. You can ask about your own camera, make a picture, review it, and change your approach.
The lesson covers camera settings, composition, angles, lighting, and other techniques. The exact balance should depend on your level. A beginner may need help understanding exposure and focus. An experienced photographer may get more from discussion about choosing a viewpoint or building a stronger series of images.
The night session is particularly suited to people who want a clear technical challenge. Tripod use and long exposure can change the way you photograph a familiar street. The supplied account of Irven’s teaching also points to a patient, repeated process, with images checked and settings adjusted over time.
A tripod is available upon request, not automatically guaranteed for every booking. You should ask for one ahead of time if it matters to your plan. You must also bring your own camera, since camera rental is not included.
Price, timing, and who gets the best value
The cost is $170 per person, and the session lasts about three hours. That is not cheap for a walk, but it is easier to justify if you want private tuition and have a specific photography goal.
For a couple, family, or small group with similar interests, the group discount may improve the value. You still receive a private activity rather than joining strangers. If one person is a complete beginner and another is an advanced photographer, the lesson may be harder to balance, so discuss your needs before booking.
This tour is a good fit for:
- Photographers who want to improve night shots and long exposure
- Beginners who prefer personal help with camera settings
- Repeat visitors who have already seen Kyoto’s main sights
- Couples or small groups who want professional photos and instruction
- Anyone who values local route planning as much as technical advice
It is less suitable if you only want a fast sightseeing circuit, already know your camera well, or expect a camera to be supplied. It is also not the right choice if you need a fixed promise of extensive time inside the temples or theater venues.
The activity is near public transportation, begins at the Statue of Izumo-no-Okuni, and returns there. Confirmation arrives at booking. Service animals are allowed, and most people can participate. You can cancel for a full refund up to 24 hours before the start time. Changes or cancellations inside that window are not accepted.
Should you book the Kyoto Photography Masterclass?
Book it if you want to leave Kyoto with better skills, not just more pictures. The private format, local route, and hands-on image review give you a useful advantage over wandering with automatic settings and hoping for good light.
I would choose the night option if your main aim is long exposure, tripod work, and lantern-lit streets. Choose a daytime focus if you care more about wooden architecture, textures, and composition along traditional streets.
At $170 per person, this is best treated as a lesson with sightseeing included, not sightseeing with a little camera advice added. Request the tripod in advance, bring your own camera, and tell the guide what you want to learn. If you do that, the three hours can be focused and productive.
FAQ
How long is the Kyoto Photography Masterclass?
The private lesson lasts approximately three hours.
Where does the activity start?
It starts at the Statue of Izumo-no-Okuni in Kawabatacho, Higashiyama Ward, Kyoto.
Where does the tour finish?
The activity ends back at the same meeting point.
Is this a private tour?
Yes. Only your group participates in the activity.
Is a camera included?
No. You need to bring your own camera. A tripod is available upon request.
Can I cancel for a full refund?
Yes. You can cancel at least 24 hours before the experience start time for a full refund. Cancellations or changes made less than 24 hours before the start time are not accepted.
Recently added around Kyoto
- Kyoto Kimono Rental CHAMATSU|Kimono/Yukata Rental FamilyPlan★ 5.0 · 3 reviews
- Higashiyama | Kyoto: Sakura Season Private Rickshaw Tour★ 5.0 · 3 reviews
- Kyoto: Half-Day Private Guided Tour to the Old Town of Gion★ 4.4 · 3 reviews
- Nara Private Customizable Half Day Tour★ 5.0 · 3 reviews
- Kansai Region Hiking Adventure in Nara Kobe Kyoto and More★ 5.0 · 3 reviews
- Full Day Nara Deer, Temple, Shrine, Activities & Tea Ceremony★ 5.0 · 3 reviews
- Nara: Essential Private Tour with Deer Park and Temples★ 5.0 · 3 reviews
- Hiking Tour for Sacred Sites in Kyoto with a Guide★ 5.0 · 3 reviews
Photography Sessions, compared.
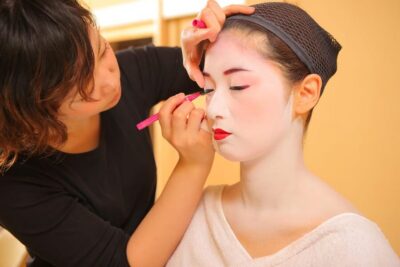
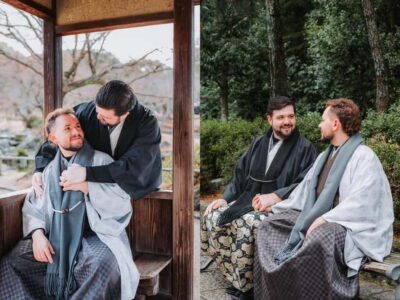
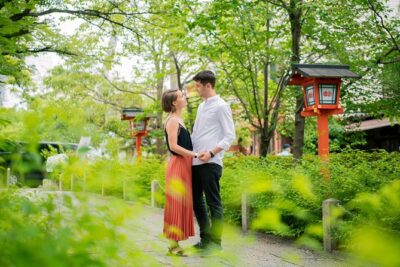
Private Photoshoot Experience in Kyoto ( Gion )
Read our review →
Kyoto Gion Kiyomizudera Kimono Yukata Hairstyle | Photoshoot
Read our review →Browse the lists this tour appears in